

A few things to measure after I got the old one off:

It turns out we had a standard 70" spring center ( 72" trailer) with an 85" hub face. Great! all standard. Although they seem to allow for custom lengths but they strangely have to be odd inches? Oh well, mine is a standard axel.


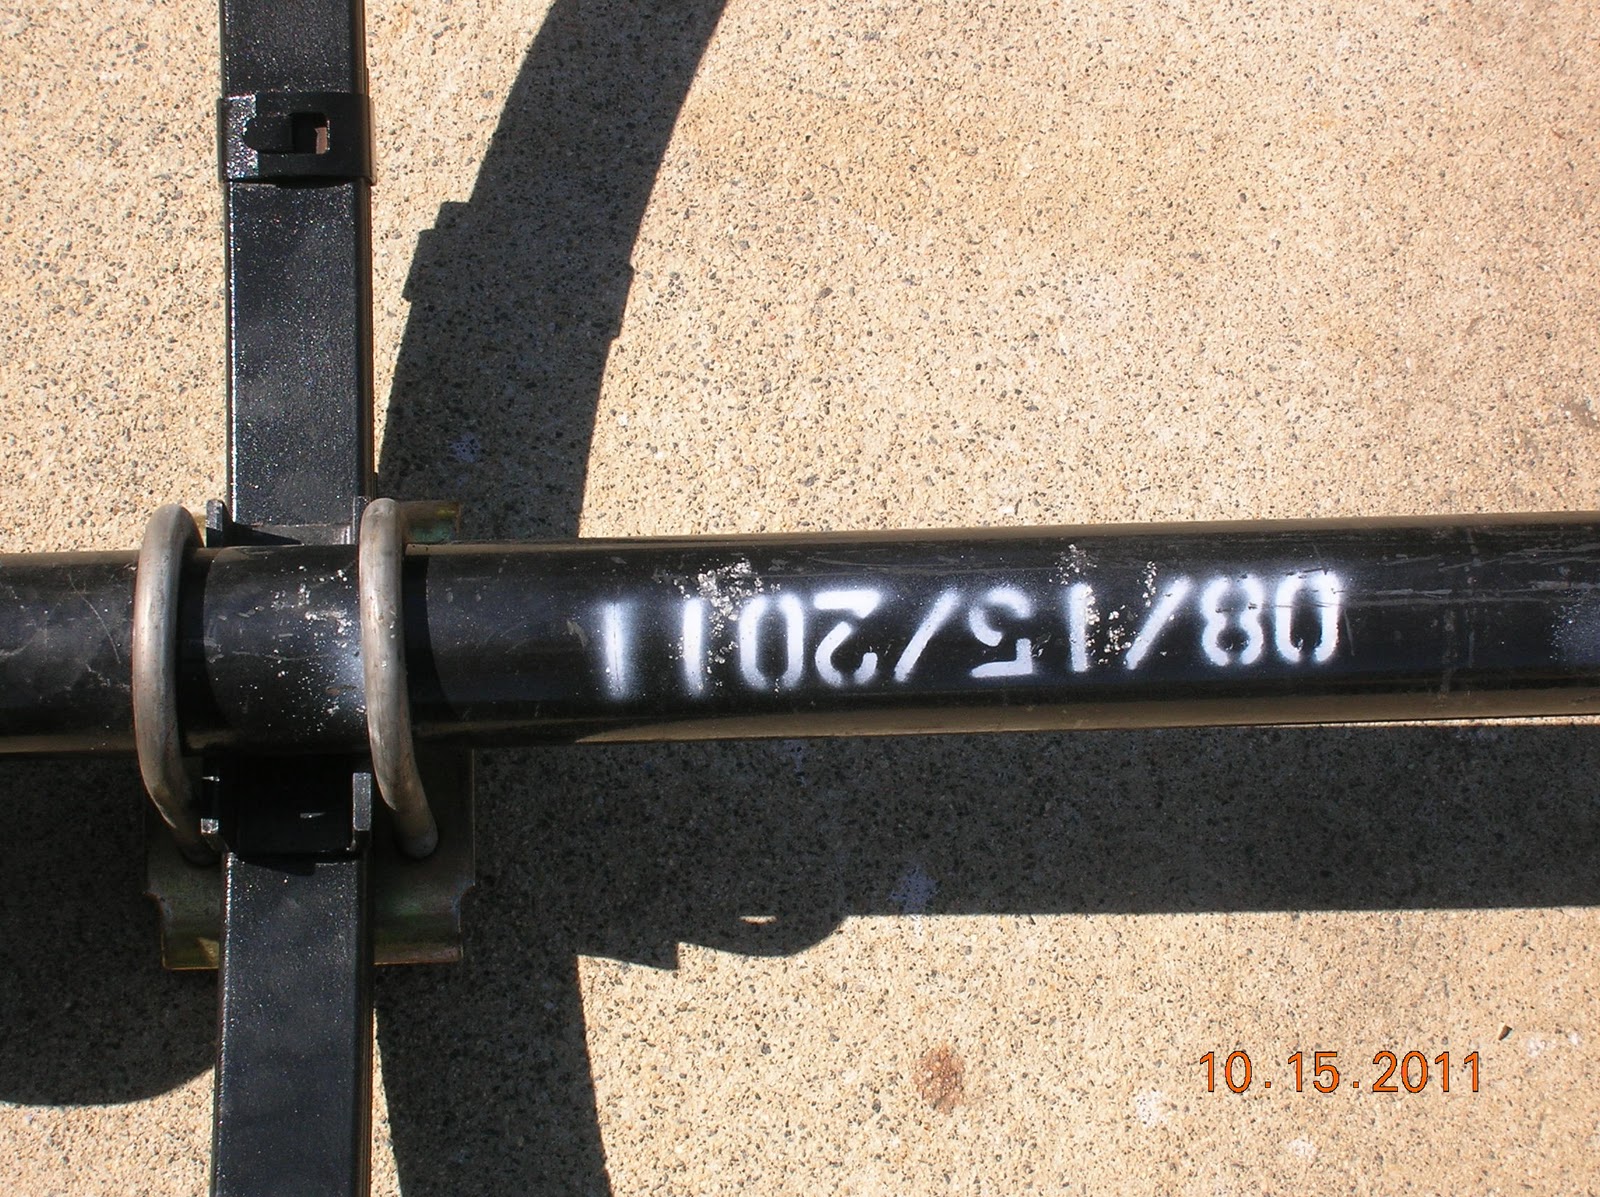
Also, the springs seem standard 25" ( although backwards from most specs the hangars on mine are in the front...I dont think that is an issue) I may also order new shackles and bolts as they seem a bit worn!

So after some research it came apparent that there are no trailer parts guys still in business near the Radio Ranch!
Looks like the recession took its toll here. But...We found a very good one on the Internet. ABC trailer parts in Molton, AL. Randy there was very helpful!!
Here:
http://abctrailerparts.com/
He advised that if we had springs to keep them but he would send a new "U" bolt set "duct taped" to the axle so save on shipping!
 |
| Dad - I smell ducktape? |
The delivery inspection! Everything seemed intact after it's journey across the country from AL - > CA... Although the radio wife did say the UPS guy was eyeing the axle and said him and his son could use for their desert toy hauler as well!

Did I doubt Randy? Not a bit! Well I did a first I did until I saw the genuine Duct tape. For an additional $few I added the grease fittings...

The old springs cleaned up good. Just a rotary wire brush to see if anything was going on under the rust AND crud.

Then I gave it a few coats of RUST-O glossy black for good measure.


Then added the plates. I guess this is the way to put them. I think older plates are just a big thick piece of steel...

But in this case they are smaller gage steel and require these little bends for stiffening. I put them on drooping down for no real reason but it looked like the crud and dust would sluff off instead of collecting if I put them the other way...and it looked like they had been mounted this way before!


Snugged them down in a Cris-cross pattern ...later using the torque wrench put them in the 50- 60 Ft-Lb spec > UBOLTS + Specs < I first ran them to 20 FT-LB all the way around, then up to the full 55 ft-lbs after fully mounting them to the trailer and letting them settle in a bit. I think I will put in washers next time to get a better torque reading, but a drop of 3-way oil seems to help as well.. Strangely, I do not see a picture of the 1/2" torque wrench. I thought I recorded the torque values I set on it for posterity? I'll need to check the cell phone pictures...
The only issue for the torque wrench is I needed to use the deep sockets to get it on the U-bolts.

OK here was one issue I had ...As seen here one of the "U" bolts was slightly damaged. I noticed the nut was very hard to turn and sure enough...Looks like it was cross-threaded or got scraped in shipment. I took a needle file to it an re-opened the threads to get the bolt on.


Up she goes! On my found in the yard and repaired floor jack. The old flywheel for the engine remount was still on it but I put four 8mm bolts to keep the axel from rolling off. You can see the bolt heads in this pic:

 |
| Dad..a lizard may be here... |

Oh yeah, this little air impact wrench was most helpful getting the old "U" bolts off the springs.
It probably explains the bend in the plate as even this little H.F. model produces 230 FT-LBs @ 90 PSI! If some one used it on it could bend it ?

Anyway, my assistant was happy we did not need this to run the compressor too long!

Just long enough to run the lug nuts on... it s my job to scare the bunnies!
~~~
No comments:
Post a Comment